Translate This Page
Reich E-Box Important notice
We no longer repair or sell the Reich e-Box as installed in Burstner Motorhomes.
The e-Box I is a very compact design. It is only a 16 amp charger designed for a battery bank of just 160Ah (using the guideline of 10 times the output). An allowance must be made for the Starter battery which the unit also charges. So if you already have a 90Ah starter battery, a single 90Ah Habitation is about its reliable limit.
It was designed by Reich to have a supplementry charger added, via the spare centre socket, if any more batteries were added, but this was rarely done when additional batteries were put in.
We have seen few Reich e-Box equipped Burstners with a Habitation Battery bank less than 200Ah + the 90Ah Starter Battery so it is not surprising so many e-Box units buckle under the load.
Leaving the unit permanently on EHU charge while in storage also significantly shortens this units life more than any other charger, as well as running up a Mains electricity bill. Obviously the battery life will also be shortened.
Solar Power and the Reich e-Box go together well, it will help extend the units life. However, the proviso on the habitation battery bank size still applies, we strongly suggest you do not go over a single 100Ah Habitation Battery without extra charger units. You also need to ensure the Alternator, and the wiring from it, will cope with a bigger battery bank.
The quality of the batteries in the battery bank is also crucial, they must be high quality and young.
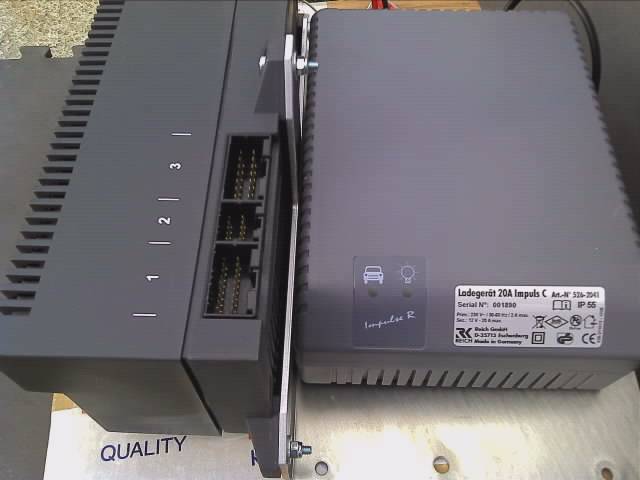
Reich improved the e-Box I design with the E-Box I PLUS which has a separate 20A charger :
The E-Box range needs care and consideration like any complex Electronic apparatus. No charger will take kindly to an exceptional work load caused from charging a battery bank to big or batteries past their best, and these are the primary reasons why so many e-Box chargers fail.
Never use the e-Box to try and bring a battery back from the dead after it has discharged in storage. Either charge the battery off the vehicle with a suitable quality CAR charger or better still discard the battery, it will never fully recover from running flat.
Do not leave this unit permanently on charge during periods of storage, this will seriously shorten it's life and that of the batteries. Just connect it to the mains supply once a month for 2 - 3 days to top up the battery.
A less than ideal 240v mains supply has the potential to cause problems but we have seen only one Burstner/Reich e-box failure with a mains 240v borne issue. However, care should be exercised during lightning storms, particularly when touring in Southern Europe, to unplug the EHU.
Please note that it is the Charger electronics that controls the Cooling Fan.
Reich e-Box and e-Box PLUS Solar Power.
To charge the Habitation and Starter simultaneously we suggest you use the Votronic MPPT 165 dual battery Solar Regulator and wire it as below.
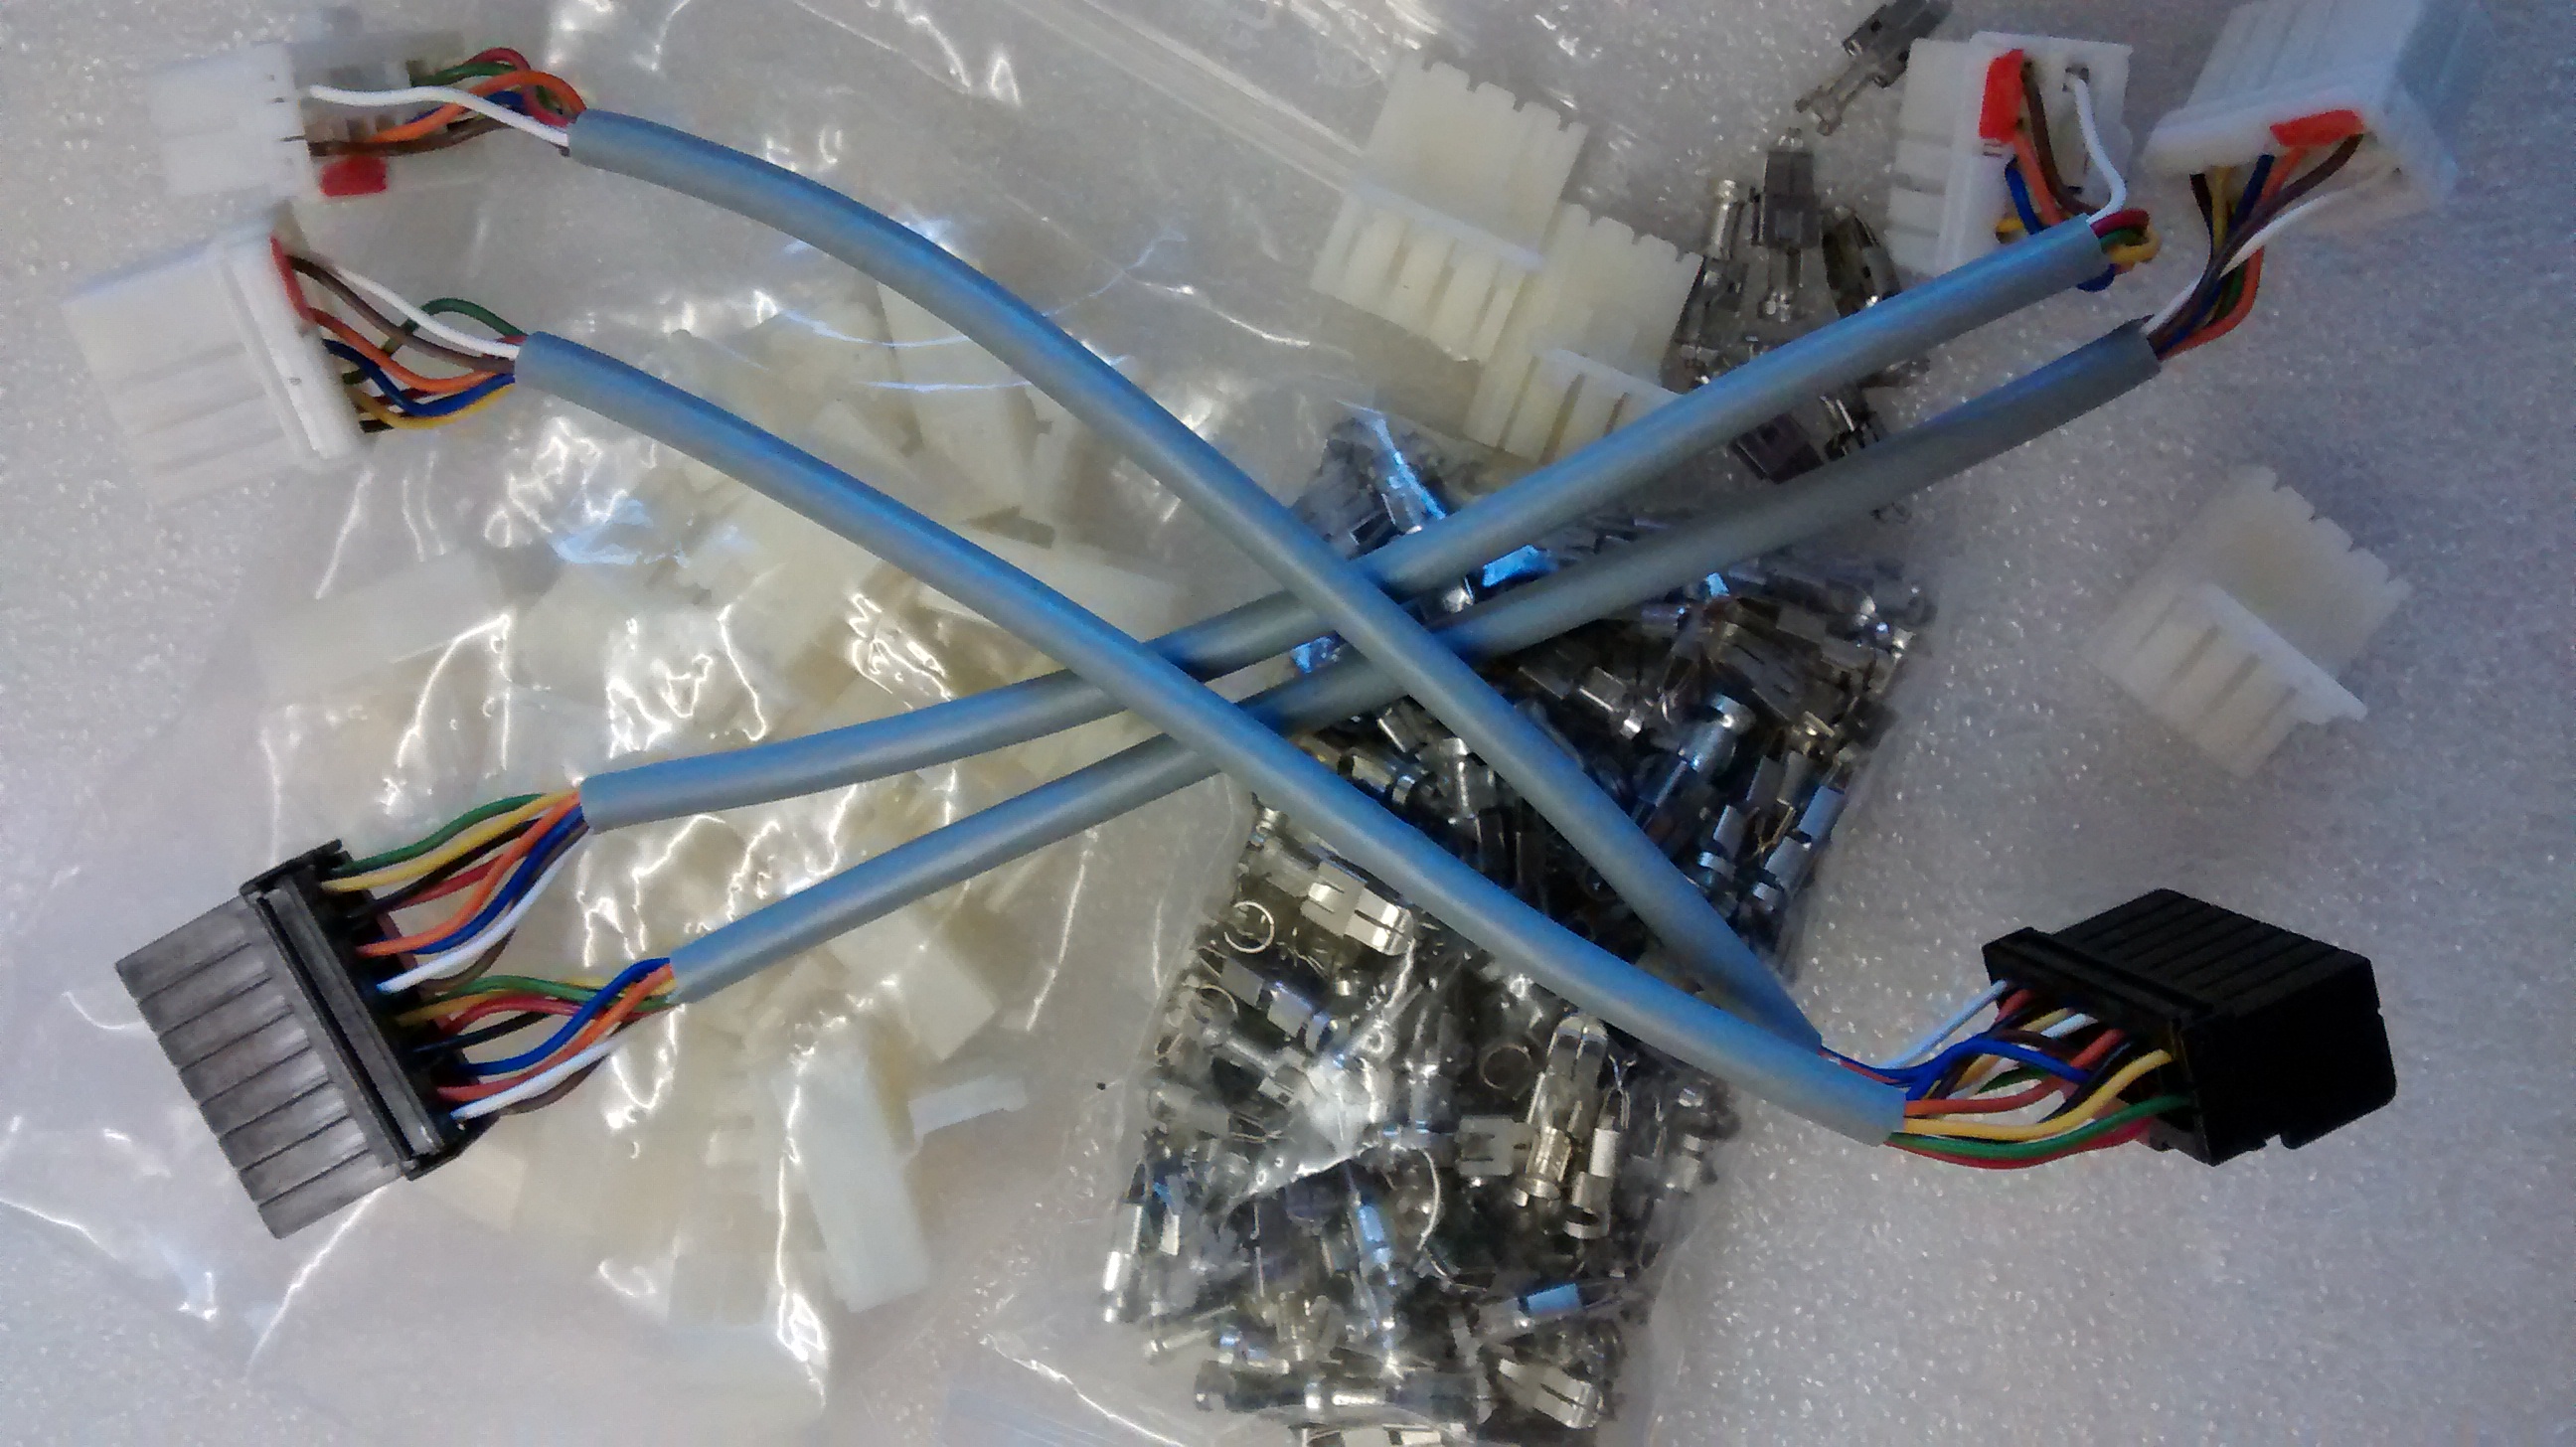
The way we have connected Solar to the e-Box 1 before is by using a dual battery bank Regulator to charge both Starter and Habitation batteries at the same time. We have a cable set that connects to the MPPT 165 and plugs into the front of the e-Box to display the Solar charging information direct on the e-Control LCD screen. Charge for both Habitation and Starter battery can then be seen. The information is not Solar specific, but mixed in with the other charging information so you have to do basic maths to work out which charge is from the Solar, but it can be done easily.
Note that the e-Box is very sensitive to higher (15+v) than normal voltages and will shut down if any are detected. Many Solar regulators are lazy at controlling voltage changes and allow a very short duration 'high' voltage of 15+volts when the Solar Panel moves from Shade to bright Sun.
You should only use a Motorhome specific Solar Regulator with the e-Box that has very tight Voltage control. Play safe and only fit one from the Charger suppliers that know Motorhomes, like Schaudt, Votronic, Toptron, Calira, etc.
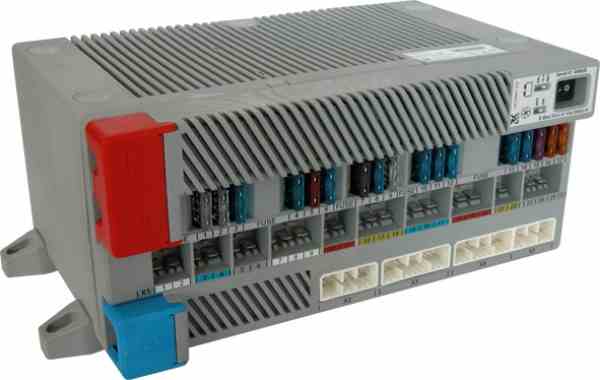
The e-Box 1 has it's main power supplies going in/out through the left front via 4 main wires onto screws. Note that in the photo at the top of the page the unit is mounted upside down.
The wiring colour is dependant on the MH manufacturer but is normally 2 Browns going to the 2 centre -(negative) screws. A Black cable for the Habitation +(positive), a Red +(positive) for the Starter battery.
Put quality ring connectors on the Solar Regulator output wires and fuse holders in the live feed. Also put a fuse holder between the Solar panel and the regulator so you can isolate the regulator from the panel during maintenance, but leave the fuses out until the wiring is complete.
Then undo the screws (you will need a very stout broad blade driver, these screws are very, very tight) and attach the solar reg output cables to the Habitation + (Black?) and - (Brown?).
Remember these wires are live so the usual care needs to be taken. Be especially careful to get the + and - the right way around.
The wires will normally stay in place when you remove the screws as they slide downwards into position and up 'out'. The screws must be put back tight. If you are using a twin battery bank regulator then connect the second bank output to the Starter battery Red lead. You can only do this with a proper dual battery bank regulator, like the Votronic MPPT 165, or you will bridge the starter and habitation bank with dire consequences.
When wiring a Solar regulator, start from the battery back to the Solar Panel so once you connect to the panel the power has got a path to flow down and doesn't just build up in the regulator causing damage.
Finally put a note in the battery box to remind yourself, or your servicing engineer, to pull the fuse to isolate the regulator from the panel to prevent damage when the batteries are disconnected for maintenance. A little note of where we can find the fuse will save my colleagues a lot of time looking in cupboards!! For an example document click : SOLAR MAINT
See the Contact Us page for contact details.
Photographs to evidence the MMM Out and About Live Forum thread on
"Why shouldn't I be plugged into EHU all the time?".
Thread posted 09/10/2015.
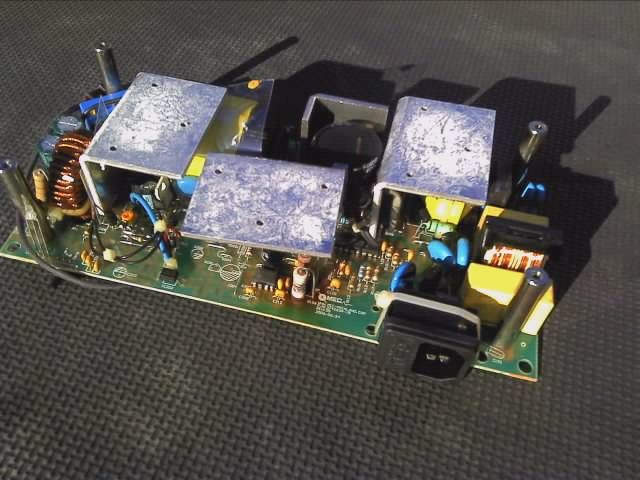
The photos clearly show the 230v dropper resisters, at the front centre of the board, overheated when left on EHU long term. Note the painted markings burnt off the resistors themselves and the burnt PCB below them.
These resistors provide the voltage to power the Switch Mode power supply. Because these provide power for the Electronics to work they are passing voltage all the time EHU is connected even when there is no charge output.
The cooling fan operates from a sensor on the Charger Output transistors Heat sink. When the charger output goes high the heat sink gets hots and the fan cuts in at high speed to cool things down. As the battery charges up, so the current drops and the heat sink never gets warm so the fan doesn't operate.
Because the dropper resistors are not located any where near the heat sensor, they can be hot but the fan won't start up to cool them down. Clearly the designer never envisaged a situation where the charger would be connected to mains, yet not actually charging the battery at any really current. They expected the 230v Mains to be disconnected once the battery was up to charge.
As we say on the Forum this charger suffers badly, as do many sophisticated units, if left on long term EHU.
Long term EHU use is NOT the reason the chargers normally fail but it stresses them, the majority of failures are in the 14v output stage as a result of a poor battery or overlarge battery bank.
While other manufacturers chargers can also show signs of deterioration from long term EHU, the primary cause of failure is still a battery past its best.